


How to Makeover a Dresser With a Faux Wood Grain Paint Technique
In this tutorial, I will guide you through the process of achieving a stunning faux wood grain paint finish on furniture. Whether you're looking to revamp an old dresser or add a rustic touch to a new piece, this faux wood paint technique will elevate the appearance of any furniture item. Let's get started!
Tools and materials
- Dresser or furniture piece
- Electric sander/sandpaper
- Bondo or wood filler
- Primer
- Semi-gloss paint
- Java brown Rust-Oleum paint
- Masonry brush
- Thick bristle brush
- Polyurethane acrylic
- Paintbrushes/paint sprayer gun
- Hardware for the dresser (optional)
How to paint faux wood grain
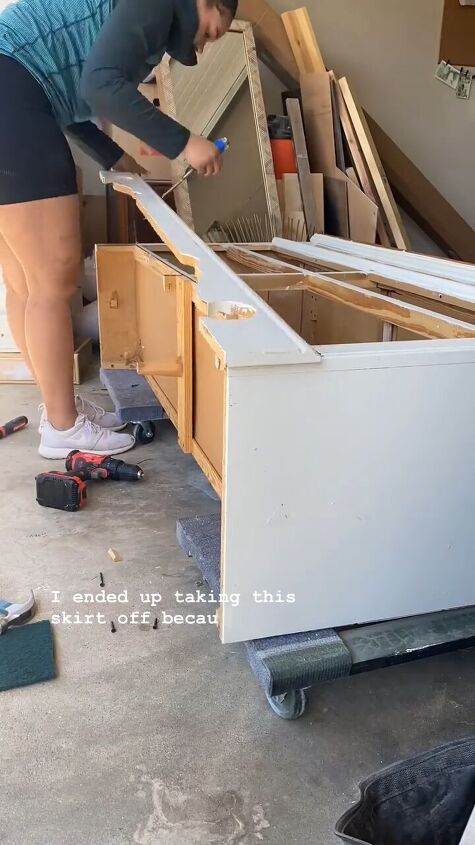
Step 1: Prepare the Furniture
Begin by assessing the furniture piece and making any necessary adjustments. For example, I removed the skirt from my piece because I didn’t like it. Ensure the surface is clean and free from any dust or debris.
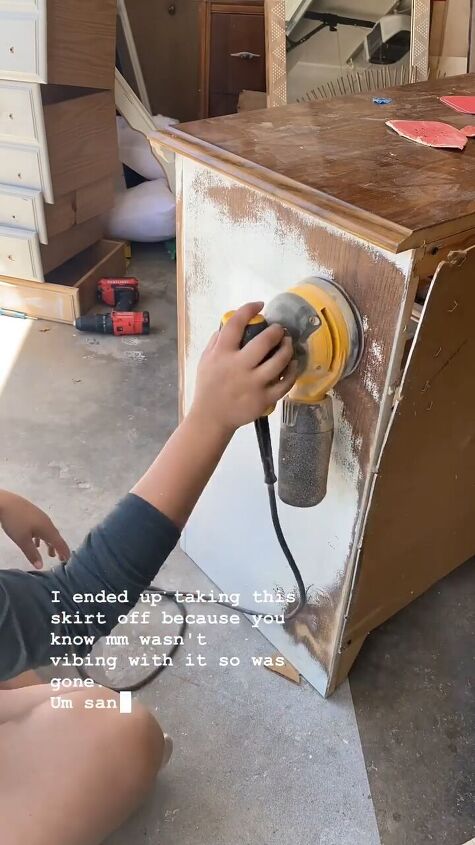
Step 2: Sand the Surface
Using an electric sander or sandpaper, gently sand the old paint or finish on the furniture's surface. This step is essential for creating a smooth base for the faux wood painting process.
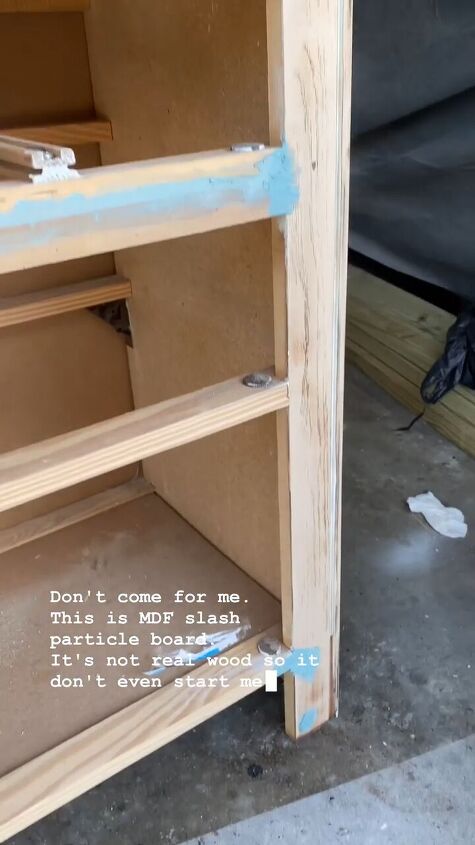
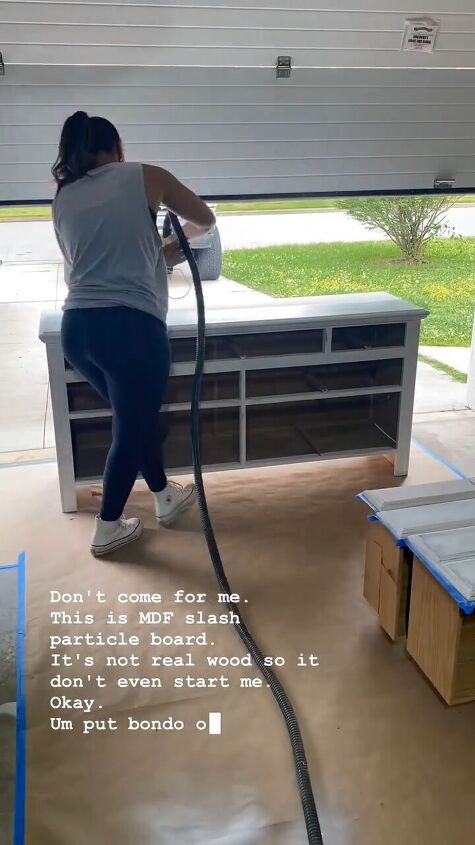
Step 3: Fill Imperfections
Apply Bondo or wood filler to any imperfections or holes in the surface. Smooth out the filler and allow it to dry completely before moving on to the next step.
Step 4: Apply Primer
Coat the surface with two coats of primer. Primer helps to create an even base for the paint and enhances its adhesion to the surface.
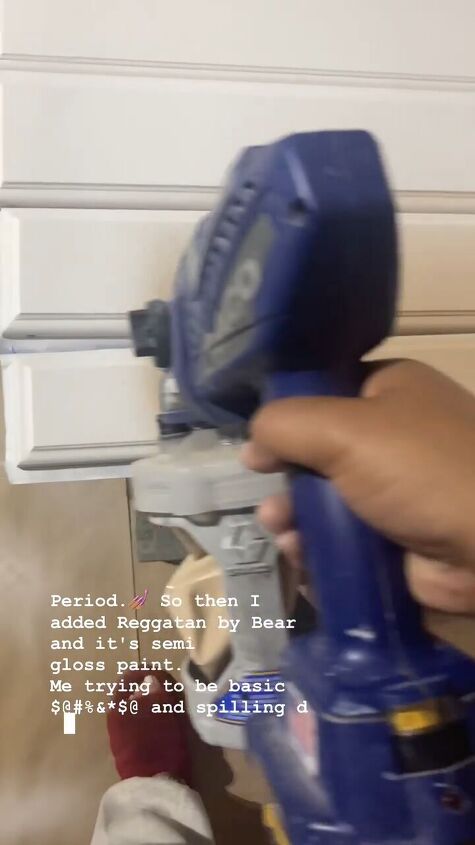
Step 5: Paint the Base Coat
Apply two coats of semi-gloss paint evenly to the primed surface. Allow each coat to dry completely before proceeding to the next step. This base coat will serve as the foundation for the faux wood grain effect.

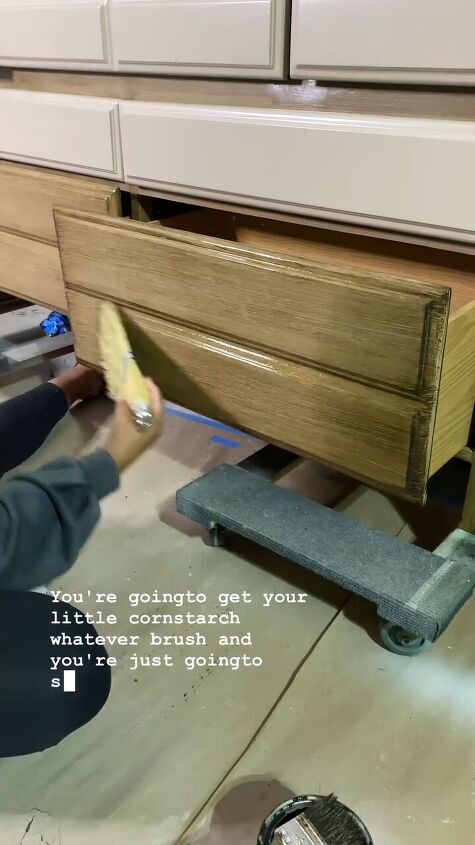
Step 6: Create the Faux Wood Grain Effect
Using Brown Rust-Oleum paint apply the paint onto the surface using a masonry brush. Lightly stroke it back and forth to create the faux wood effect.
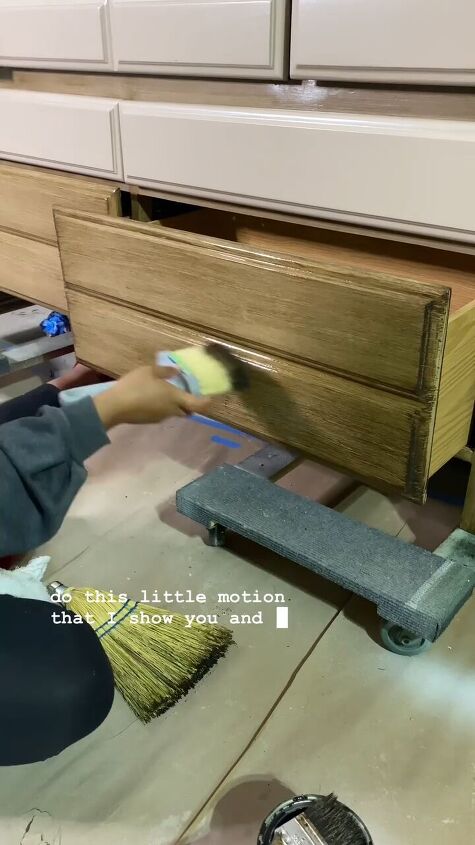
This technique requires a gentle touch and patience to achieve a realistic appearance.
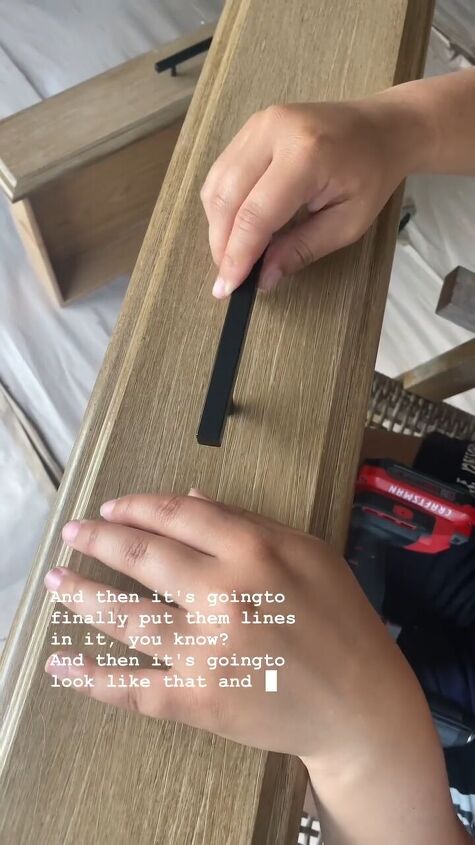
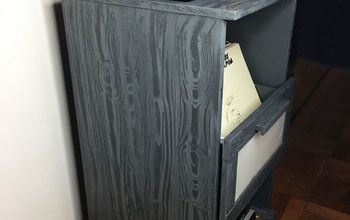
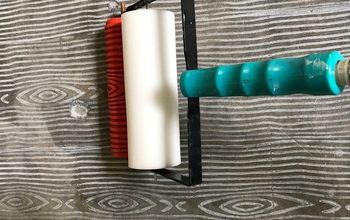
Step 7: Add Faux Wood Lines
Using a thick bristle brush, swipe back and forth over the wet paint to create the appearance of wood lines. This step helps to enhance the realism of the faux wood grain effect.
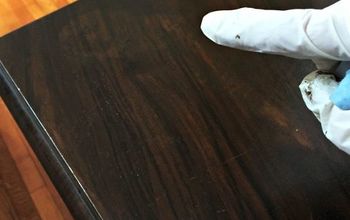
Step 8: Apply Protective Finish
Once the faux wood grain effect is achieved and the paint is dry, apply two coats of polyurethane acrylic to protect the finish and add a glossy sheen.
Step 9: Reassemble the Furniture
If any hardware was removed earlier, reattach it securely to the dresser. Ensure everything is properly aligned and tightened.
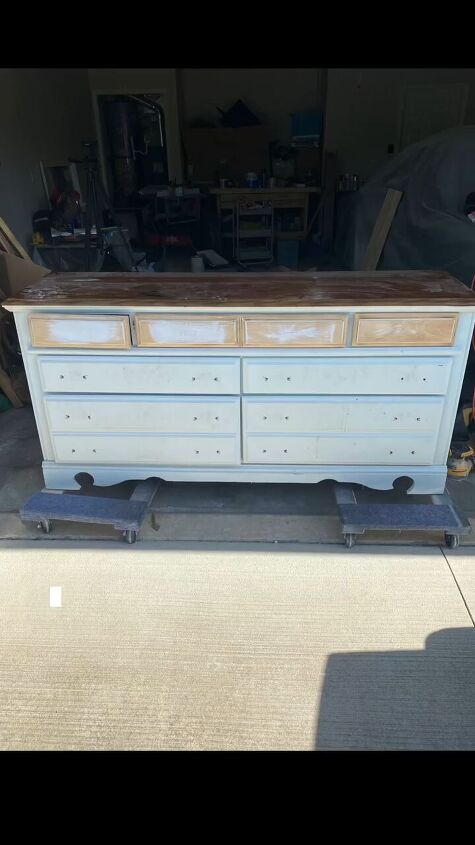
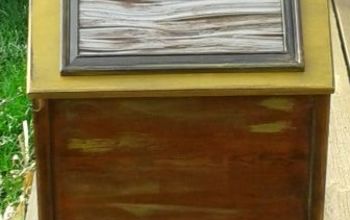
Before:
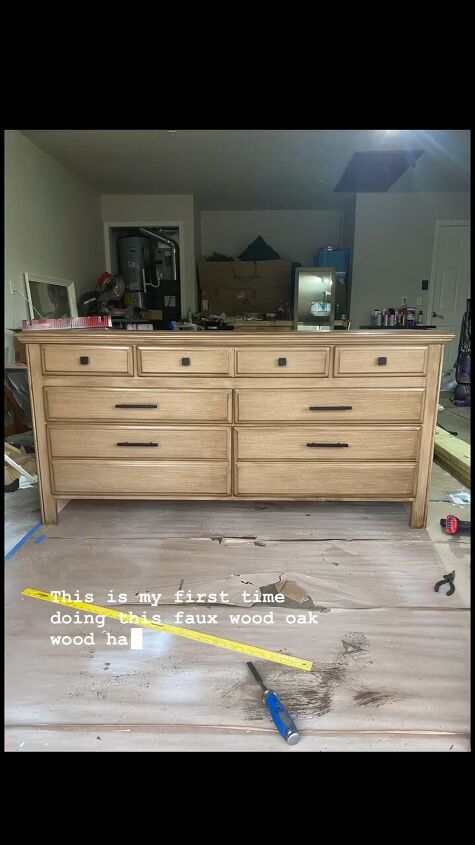
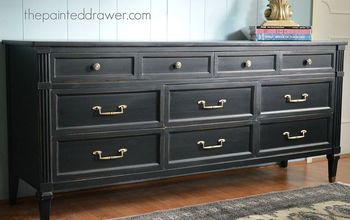
After:
Congratulations! You've successfully learned how to paint faux wood grain. Faux wood painting techniques offer endless possibilities for customization and can breathe new life into any piece of furniture.
Experiment with different colors and brush strokes to achieve the painted faux wood look you desire.
Enjoy the process of creating a unique and stylish piece for your home and leave me a comment to let me know how your project came out.
Follow @flippedbyfaith_ on Instagram for more DIY ideas.


Frequently asked questions
Have a question about this project?