


How to Make DIY Wax Fragrance Bars in a Few Simple Steps
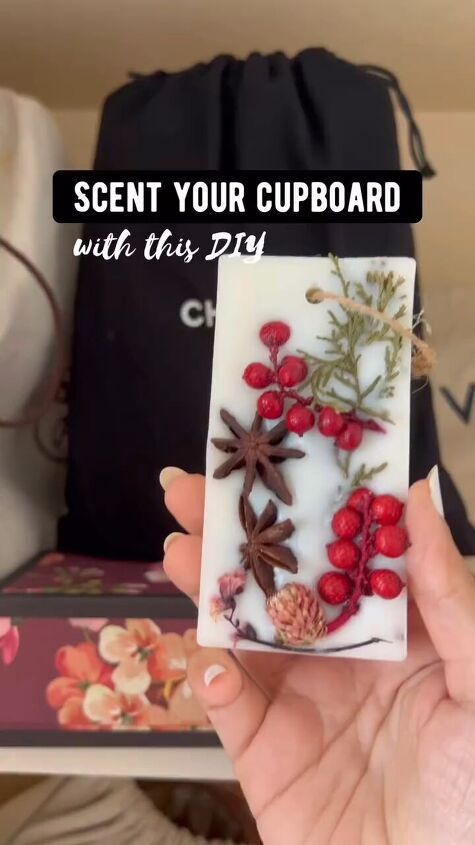
Welcome to my step-by-step tutorial on creating DIY wax fragrance bars! These bars are not only easy to make but also customizable to your favorite scents and decorative preferences. They work beautifully to scent closed (dry) spaces like drawers or cupboards.
Follow along, and let's get started!
Tools and materials
- Soy wax
- Fragrance oil of your choice
- Silicone mold (with or without decorative designs)
- Double boiler or a heat-safe container and a saucepan
- Dried embellishments (berries, leaves, flowers, etc.)
- Twine (optional, for hanging)
DIY Fragrance Bars
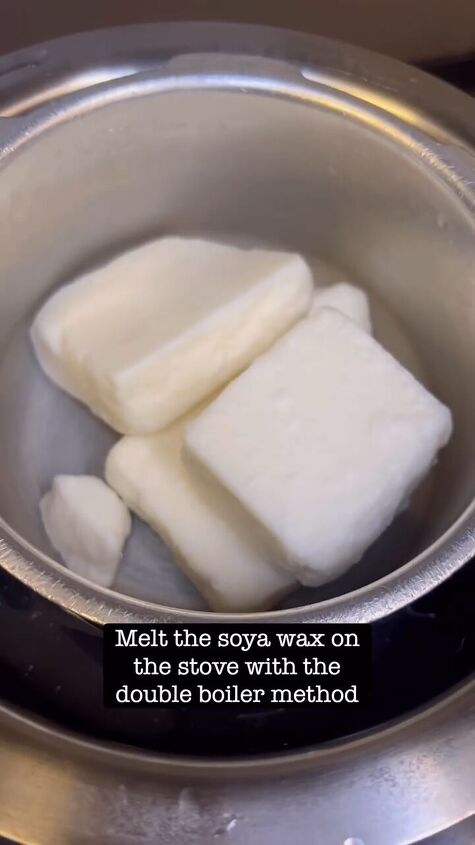
Step 1: Melt the Soy Wax
Begin by melting the soy wax on the stove using the double boiler method. Place the wax flakes in the heat-safe container and set it over a pot of simmering water. Stir occasionally until the wax is completely melted and smooth.
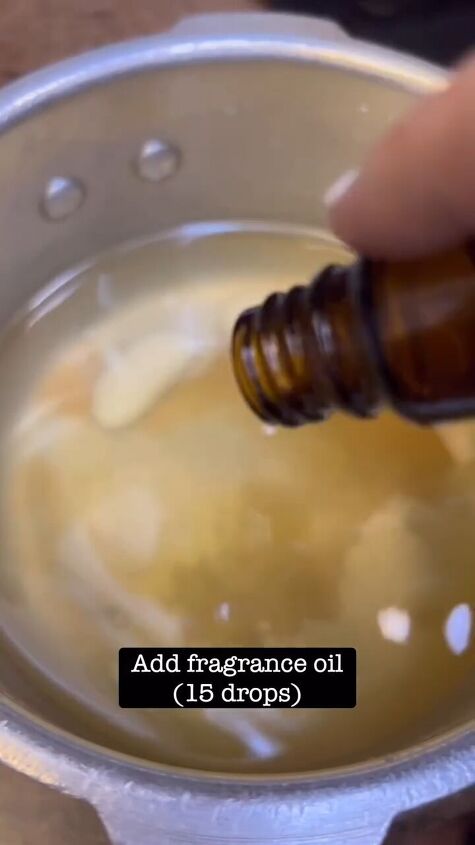
Step 2: Add Fragrance Oil
Once the wax is melted, carefully add 15 drops of your chosen fragrance oil. Stir the mixture thoroughly to ensure the fragrance is evenly distributed throughout the wax.
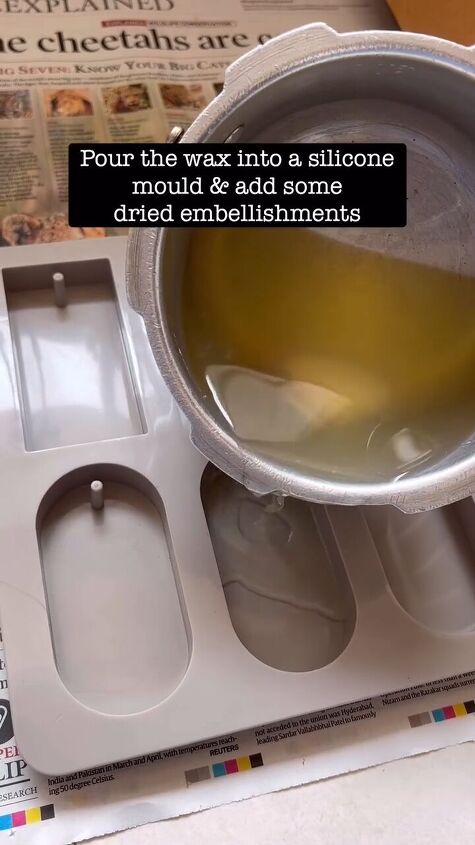
Step 3: Pour Into Mold
Next, pour the fragrant wax into the silicone mold. Fill each cavity to the top, leaving a slight space for any embellishments you'll add later.
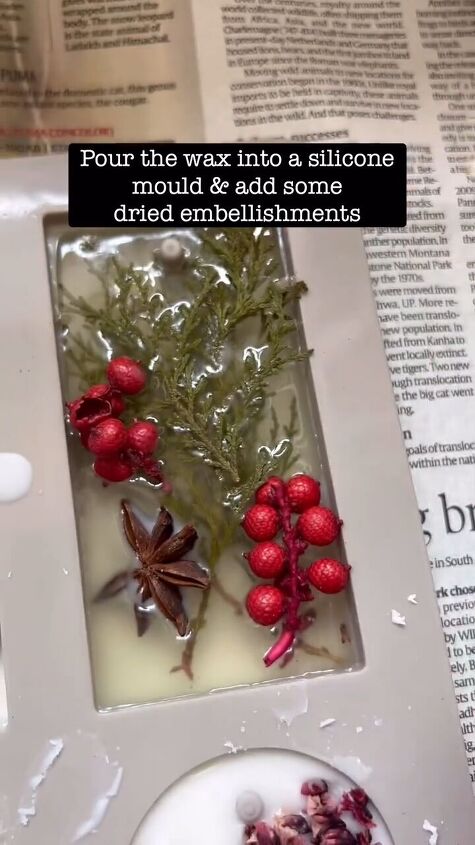
Step 4: Add Dried Embellishments
Now, it's time to get creative! Place your chosen dried embellishments, such as berries, leaves, or flowers, into the wax-filled mold. Arrange them as you like, ensuring they are evenly distributed and partially submerged in the wax.
Tip: Add your embellishments as soon as you see a light trace of white on the wax. This is the sweet spot to help avoid them sinking to the bottom.
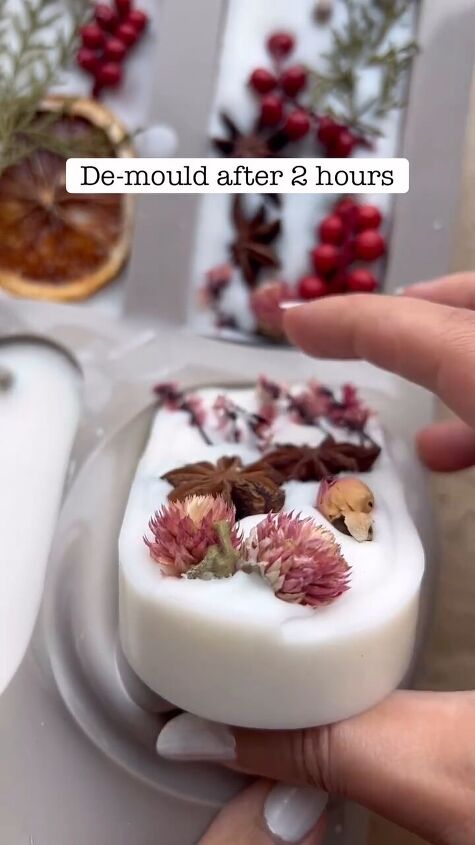
Step 5: Let It Set
Allow the wax bars to set for at least 2 hours, or until completely solidified. You can speed up the process by placing the mold in the refrigerator.
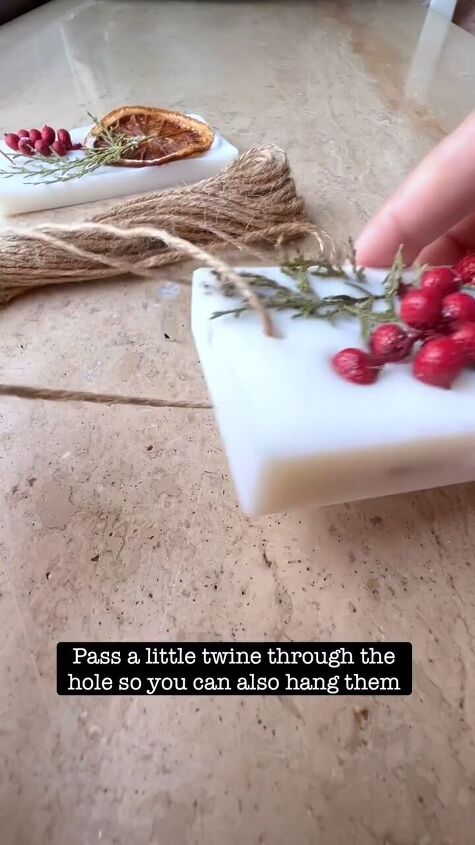
Step 6: Optional Hanging Feature
If your mold leaves a hole at the top of the bars, like mine does, take some twine and string it through. This way, you'll have the option to hang your fragrant wax bars, adding a charming decorative touch.

Step 7: Enjoy or Gift
Once fully set, carefully remove the wax bars from the mold. These DIY fragrance bars are perfect for personal use to scent your home or as thoughtful gifts for friends and family. Place them in closets, drawers, or any space that could use a delightful aroma!
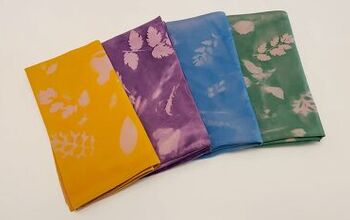
DIY wax fragrance bars
Depending on the quality of your oils, these wax bars can release fragrance up to 2 months on average.
Get creative with different fragrance combinations and decorative elements to make each batch unique. Leave me a comment to let me know how your project goes.
Follow @rohina on Instagram for more DIY ideas.


Frequently asked questions
Have a question about this project?